
Screenshot MCP
upnorthmedia/ScreenshotMCP
Captura screenshots de páginas e elementos com presets de dispositivo
Ver no GitHubServidor MCP para capturar screenshots de websites com suporte a página completa, elementos específicos e múltiplos presets de dispositivo. Integra-se nativamente com Claude Code e Cursor para automação de captura visual durante desenvolvimento.
Instalação
npx convez-ai upnorthmedia/ScreenshotMCP1 comando no terminal: detecta o formato do repositório (marketplace ou plugin avulso) e instala via Claude Code. Requer Node 18+ e o Claude Code instalado.
Métricas
Casos de uso
- Automatizar testes visuais de websites durante desenvolvimento
- Capturar screenshots responsivos em mobile, tablet e desktop
- Documentar estado visual de componentes específicos via seletores CSS
- Validar renderização de páginas após condições de carregamento
Veredito

MCP prático para integração direta em fluxos de desenvolvimento web. Oferece controle fino sobre captura visual (full-page, elemento, viewport customizado) com rate limiting e espera por condições de rede. Recomendado para automação de testes visuais e documentação de UI em pipelines de desenvolvimento.
README
A tradução para o português deste README ainda está na fila.
Screenshot MCP
A Model Context Protocol MCP server for capturing website screenshots with full page, element, and device size features.
Features
- Full-page screenshot capture with automatic scrolling
- Element-specific screenshots using CSS selectors
- Multiple device presets (mobile, tablet, desktop)
- Custom viewport configurations
- Advanced wait conditions (CSS selectors, network idle, custom delays)
- Error handling and validation for secure operation
- Rate limiting to prevent resource exhaustion
Installation
- Clone or download this project
- Move to the directory:
cd /path/to/ScreenshotMCP - rename
.env.exampleto.env - Install dependencies:
npm install - Start Server:
npm start
Using with Claude Code
You can use Screenshot MCP directly within the Claude Code CLI or Claude Desktop to capture screenshots as part of your development workflow.
For Claude Code CLI:
Add to your ~/.config/claude/mcp_servers.json:
{
  "screenshot-full-page-mcp": {
    "command": "node",
    "args": ["/path/to/screenshot-full-page-mcp/index.js"]
  }
}
or
claude mcp add screenshot-full-page-mcp node ./index.js
For Claude Desktop:
Add to your claude_desktop_config.json:
{
  "mcpServers": {
    "screenshot-full-page-mcp": {
      "command": "node",
      "args": ["/path/to/screenshot-full-page-mcp/index.js"]
    }
  }
}
Using with Cursor
You can use Screenshot MCP directly within the Cursor IDE to capture screenshots as part of your development workflow.
-
Open Cursor.
-
Go to Settings > MCP Servers.
-
Add a new MCP server entry for Screenshot MCP:
{ "mcpServers": { "screenshot-full-page-mcp": { "command": "node", "args": ["/path/to/screenshot-full-page-mcp/index.js"] } } } -
Save your settings.
Usage
Once configured, you can use natural language commands with Claude Code:
Basic Screenshot
"Take a screenshot of https://example.com"
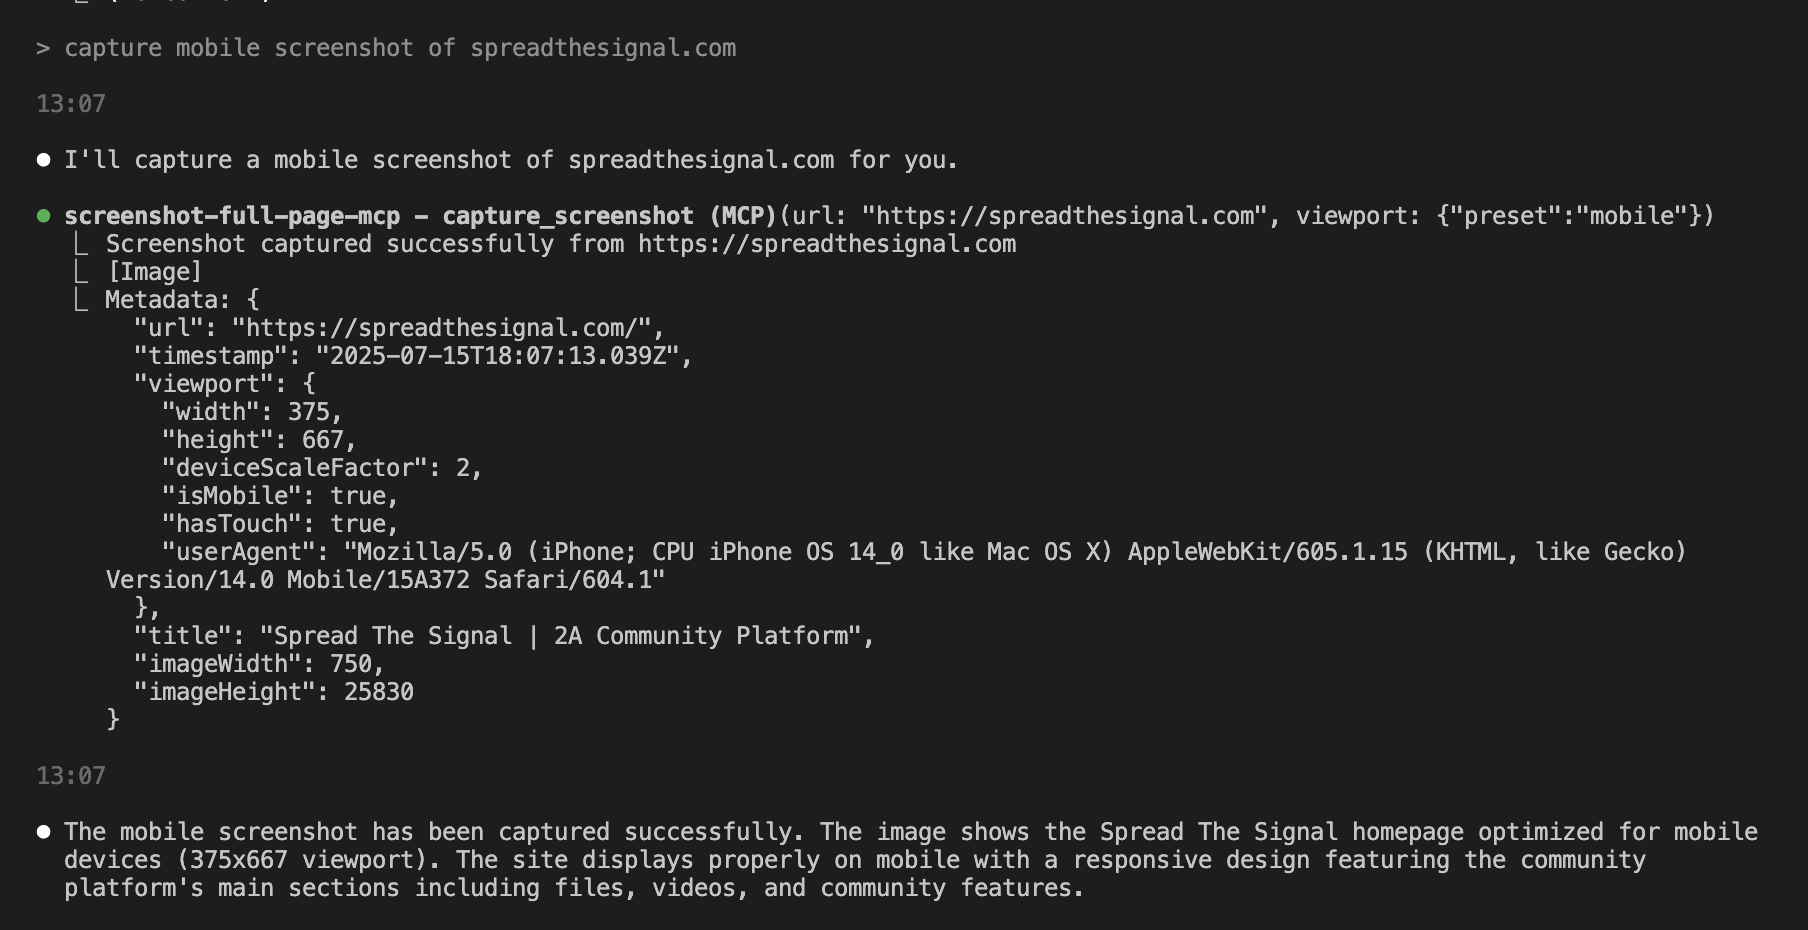
Mobile Screenshot
"Capture a mobile screenshot of https://myapp.com"
Custom Viewport
"Screenshot https://myapp.com at 1024x768 resolution"
Wait for Element
"Take a screenshot of https://example.com after the loading spinner disappears"
Element Screenshot
"Capture just the navigation bar from https://example.com"
Available Tools
capture_screenshot
Captures a full-page screenshot with advanced configuration options.
Parameters:
url(required): The webpage URL to screenshotviewport: Viewport configurationpreset: Device preset (mobile,tablet,desktop)width: Custom width in pixels (100-5000)height: Custom height in pixels (100-5000)deviceScaleFactor: Scale factor (0.1-3)isMobile: Mobile device emulationhasTouch: Touch support emulation
waitFor: Wait conditionstype:selector,function,timeout, ornetworkidlevalue: CSS selector, function, or timeout valuetimeout: Wait timeout in milliseconds
delay: Additional delay before screenshotwaitUntil: Navigation completion condition
capture_element
Captures a screenshot of a specific page element.
Parameters:
url(required): The webpage URLselector(required): CSS selector for the target elementviewport: Viewport configuration (same as above)
list_device_presets
Lists all available device presets with their configurations.
Device Presets
| Preset | Width | Height | Scale | Mobile | Touch |
|---|---|---|---|---|---|
| mobile | 375px | 667px | 2x | Yes | Yes |
| tablet | 768px | 1024px | 2x | Yes | Yes |
| desktop | 1920px | 1080px | 1x | No | No |
Configuration
Environment variables can be set in the .env file:
# Browser Configuration
BROWSER_HEADLESS=true
BROWSER_TIMEOUT=30000
MAX_CONCURRENT_SCREENSHOTS=5

# Screenshot Defaults
DEFAULT_VIEWPORT_WIDTH=1920
DEFAULT_VIEWPORT_HEIGHT=1080
DEFAULT_WAIT_TIMEOUT=10000

# Security
RATE_LIMIT_REQUESTS=100
RATE_LIMIT_WINDOW=60000

# Debug
DEBUG=false
LOG_LEVEL=info
Security Features
- URL validation (HTTP/HTTPS only)
- CSS selector sanitization
- Rate limiting for concurrent requests
- Sandboxed browser execution
- Input validation and error handling
System Requirements
- Node.js 18+
- Chrome/Chromium browser (installed automatically with Puppeteer)
- Minimum 2GB RAM
- 500MB disk space
Troubleshooting
Common Issues
-
Browser launch fails:
- Ensure sufficient system resources
- Check if Chrome/Chromium is properly installed
- Try setting
BROWSER_HEADLESS=falsefor debugging
-
Screenshot timeout:
- Increase
BROWSER_TIMEOUTin.env - Check if the target website loads properly
- Use appropriate
waitUntilconditions
- Increase
-
Memory issues:
- Reduce
MAX_CONCURRENT_SCREENSHOTS - Restart the MCP server periodically
- Monitor system memory usage
- Reduce
Debug Mode
Enable debug mode by setting DEBUG=true in .env file for detailed logging.
Contributing
- Fork the repository
- Create a feature branch
- Make your changes
- Add tests if applicable
- Submit a pull request
License
MIT License - see LICENSE file for details.
Support
For issues and questions:
- Open an issue on GitHub
- Check the troubleshooting section
- Review the MCP documentation