Controle de Motor LEGO via Comandos de Voz com IA
shubhomoydas/ai_raspberrypi
Controle motor LEGO em Raspberry Pi com comandos de voz processados por IA
Ver no GitHubPlugin Python que integra Raspberry Pi 5, motor LEGO e LLMs (Claude) para aceitar instruções em linguagem natural via voz e executá-las no hardware. Usa speech-to-text, raciocínio ReAct para planejamento e text-to-speech para feedback, com separação clara entre planejamento (IA) e execução (APIs do motor).
Instalação
npx convez-ai shubhomoydas/ai_raspberrypi1 comando no terminal: detecta o formato do repositório (marketplace ou plugin avulso) e instala via Claude Code. Requer Node 18+ e o Claude Code instalado.
Métricas
Casos de uso
- Projetos de robótica educacional e STEM
- Prototipagem de sistemas embarcados controlados por voz
- Demonstração de raciocínio ReAct com execução em hardware real
Veredito

Projeto sólido e bem documentado que demonstra integração prática de LLMs com hardware embarcado. A separação clara entre planejamento (dummy funcs) e execução (real funcs) é padrão profissional. Ideal para aprendizado em robotics, mas requer conhecimento prévio de Python, Raspberry Pi e eletrônica.
README
A tradução para o português deste README ainda está na fila.
README
A little project with Raspberry Pi, LEGO motor, AI (LLMs), and voice commands. If you are a school student, feel free to borrow the ideas (and code) in this repo for robotics projects.
See below the hardware / equipment setup. All of these were bought online.
Objective
We will control a LEGO motor using voice commands.
Running demo code
IMPORTANT: First make sure Raspberry Pi environment is setup properly. Follow the steps below:
- Setup the hardware
- Connect to Raspberry Pi remotely
- Clone this repo
- Instructions on installing Python and setting up virtual environment
- Install python BuildHAT library and other packages to process audio files
- Install libraries to output audio
Now, execute the demo code control.py:
cd ai_raspberrypi_notebooks

python -m experiments.control
Setup and Approach
The Raspberry Pi Build HAT helps us connect to the LEGO Motor. The python APIs let us programmatically control the motor. These APIs are rather cryptic, such as run_for_degrees(), run_for_rotations(), run_to_position(), etc. Instead, instructions such as Please turn left and then turn right twice. are more human-friendly. For this, we will implement our system as follows:
- We will use an LLM (Claude) and ReAct (Reasoning and Acting) to translate the user's instructions into the low-level motor APIs.
- We will dictate the instructions by speaking (instead of typing). For this we will use OpenAI's speech-to-text GPT model.
- We will have the system give us feedback through audio. Here we will use OpenAI's text-to-speech GPT model.
Design Considerations
Check the file control.py. The main highlights are shown below:
def control(real_funcs, dummy_funcs):
    ...
    ...
        thought_actions, answer, messages = get_action_steps(task, funcs=dummy_funcs)
        for thought_action in thought_actions:
            thought = thought_action.get("Thought")
            step = thought_action.get("Action")
                ...
                obs = invoke_tool(step, real_funcs)
                ...
            ...
    ...
Separation of planning and execution
It is always good to separate planning from execution. Planning is where AI comes in. The main sequence of steps are identified during planning. Execution of the planned steps is much more mechanical, but needs to handle security, performance, errors, etc. I have found that mixing both concerns (planning and execution) leads to buggy implementations. As an added benefit, the separation of concerns also helps distribute the work across teams with specialized skill sets.
In the code snippet above:
- Planning:
get_action_steps(task, funcs=dummy_funcs)performs planning.dummy_funcsprovides 'mock' implementations of the motor functions. - Execution:
invoke_tool(step, real_funcs)executes the motor APIs on the real motor.real_funcsprovides reference to actual motor functionality.
Sandboxing during planning
LLMs are still not mature enough to operate fully independently. Especially when they are used to control devices in real world. My preference is to use a sandbox/simulation environment when letting the LLM plan the steps required to complete a task. Once we are satisfied that the planning is robust and ironed out, we execute the planned steps on real devices. As already mentioned, the sandboxing is achieved though the dummy_funcs 'mock' functions.
Jupyter Notebook Example
To run the notebook(s) in this repo, make sure you have installed the required libraries, and acquired the Claude and OpenAI API keys. Start jupyter with the below command:
cd ai_raspberrypi_notebooks

export CLAUDE_API_KEY=<api_key> && export CLAUDE_API_URL=https://api.anthropic.com/v1/messages \
  && export CLAUDE_API_VER=2023-06-01 && export OPENAI_API_KEY=<api_key>; jupyter notebook
Check out the notebook test_control.ipynb. Here, we have shown how Please turn left and then turn right twice. gets translated into three motor instructions by ReAct:
{'blocking': True, 'degrees': 90, 'name': 'run_for_degrees', 'speed': -50}
{'blocking': True, 'degrees': 90, 'name': 'run_for_degrees', 'speed': 50}
{'blocking': True, 'degrees': 90, 'name': 'run_for_degrees', 'speed': 50}
ReAct also shows its reasoning for each action:
[{'Action': {'blocking': True,
             'degrees': 90,
             'name': 'run_for_degrees',
             'speed': -50},
  'Thought': 'I need to break this down into three steps: 1) turn left (90 '
             'degrees), 2) turn right (90 degrees), and 3) turn right again '
             "(90 degrees). Since turning involves rotation, I'll use "
             "run_for_degrees. For left turn, I'll use negative speed, and for "
             'right turns, positive speed.'},
 {'Action': {'blocking': True,
             'degrees': 90,
             'name': 'run_for_degrees',
             'speed': 50},
  'Thought': 'Good, the left turn is complete. Now I need to execute the first '
             'right turn.'},
 {'Action': {'blocking': True,
             'degrees': 90,
             'name': 'run_for_degrees',
             'speed': 50},
  'Thought': 'The first right turn is complete. Now I need to execute the '
             'second right turn.'}]
The ReAct prompt for the LLM can be seen in motor_control.py.
Hardware / Software
Please note that the hardware listed here are NOT recommendations. These are merely items I found easy to purchase.
Hardware
- RaspberryPi 5
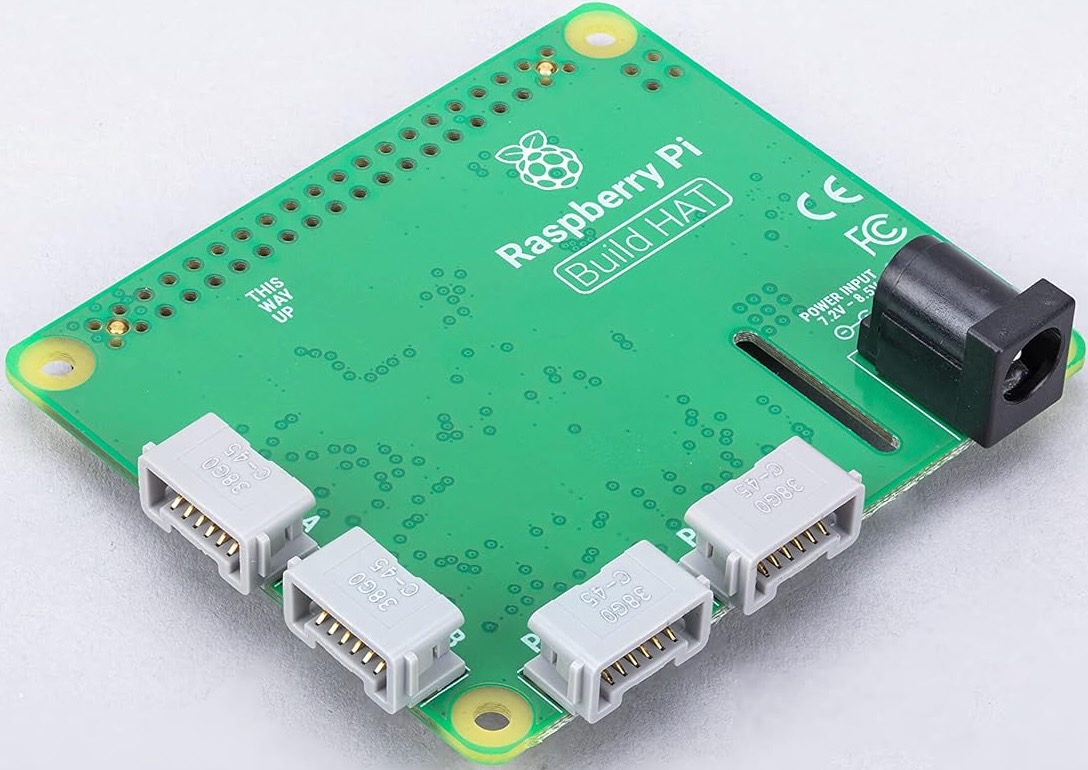
- Raspberry Pi Build HAT
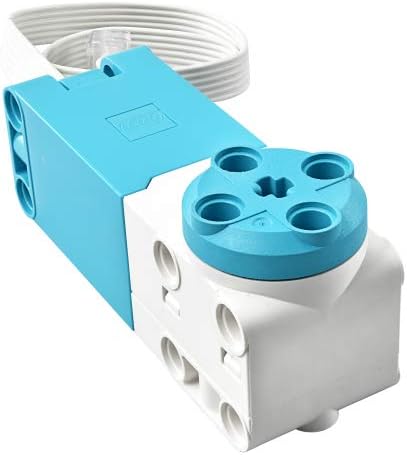
- Lego Motor
- USB speaker for Raspberry Pi
- USB microphone for Raspberry Pi
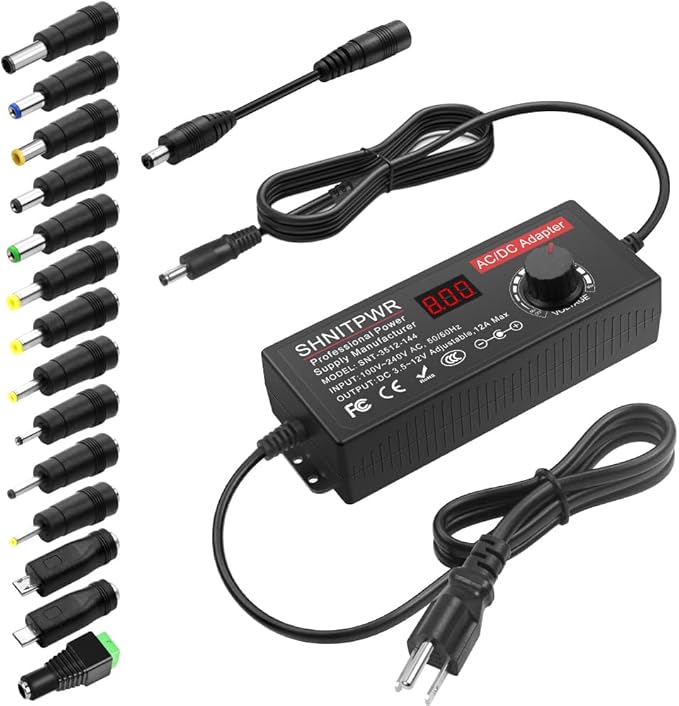
- Build HAT Power Adapter -- This is required for running the LEGO motor.
More details are in Section Hardware details below. Connecting the devices is very easy. At max a screw-driver is needed, and most were just plugged in to appropriate ports.
Software / AI:
- TigerVNC (connect to Raspberry Pi)
- Python 3.11
- Claude (might use OpenAI GPT-4*) is being used for LLM completion -- an API key will be required
- OpenAI models being used for text-to-speech and speech-to-text -- an API key will be required
I use a Macbook Pro for development, hence the commands and instructions are biased towards that.
Use the below command to get to the python shell:
export CLAUDE_API_KEY=<api_key> && export CLAUDE_API_URL=https://api.anthropic.com/v1/messages \
  && export CLAUDE_API_VER=2023-06-01 && export OPENAI_API_KEY=<api_key>; python
Python
Check if LEGO motor setup is OK
Below code will test if the LEGO motor is working fine.
from buildhat import Motor

motor_a = Motor('A')

motor_a.run_for_seconds(5)

motor_a.run_for_seconds(5, speed=50)
motor_a.run_for_seconds(5, speed=-50, blocking=False)

motor_a.run_for_degrees(360, speed=None, blocking=False)

motor_a.run_to_position(degrees=180, speed=None, blocking=True, direction='shortest')

motor_a.run_for_degrees(-360)

motor_a.run_for_rotations(rotations=2, speed=None, blocking=False)

motor_a.set_default_speed(default_speed=50)

motor_a.start()

motor_a.stop()


def handle_motor(speed, pos, apos):
    """Motor data

    :param speed: Speed of motor
    :param pos: Position of motor
    :param apos: Absolute position of motor
    """
    print("Motor", speed, pos, apos)


for i in range(2):
    motor_a.run_for_rotations(rotations=2)
    motor_a.run_for_rotations(rotations=-2)


motor_a.when_rotated = handle_motor


i = 0
while i < 10:

    print("Position: ", motor_a.get_aposition())

    motor_a.run_for_seconds(5, speed=50)

    i += 1
Start jupyter notebook
cd ~/work/git/ai_raspberrypi

source ~/work/venv/python311_raspi/bin/activate

export CLAUDE_API_KEY=<api_key> && export CLAUDE_API_URL=https://api.anthropic.com/v1/messages \
  && export CLAUDE_API_VER=2023-06-01 && export OPENAI_API_KEY=<api_key>; jupyter notebook --no-browser --port 8896
Important links for help on audio
- https://www.geeksforgeeks.org/python/create-a-voice-recorder-using-python/
- https://platform.openai.com/docs/guides/text-to-speech
- https://github.com/openai/openai-python/blob/main/src/openai/helpers/local_audio_player.py
- https://raspberrypi.stackexchange.com/questions/7088/playing-audio-files-with-python
- http://stackoverflow.com/questions/43941716/ddg#43950755
Install required python libraries
IMPORTANT: These must be run ON THE Raspberry Pi
sudo apt-get install libportaudio2

pip3 install buildhat

pip install sounddevice wavio scipy openai

pip install jupyter
Setup for installing portaudio on Macbook, i.e., OSX (required by pyaudio)
IMPORTANT: these are optional and should be run on Macbook to setup local development
brew install portaudio
brew install ffmpeg
python3 -m pip install --upgrade pip setuptools
python3 -m pip install pyaudio --global-option="build_ext" --global-option="-I/opt/homebrew/include" --global-option="-L/opt/homebrew/lib"
pip install pydub
Setup for enabling audio output on Raspberry Pi
IMPORTANT: these must be run ON THE Raspberry Pi
sudo apt-get install ffmpeg

sudo apt-get install portaudio19-dev

sudo apt-get install python3-dev

pip install pyaudio

pip install pydub pyaudio
Setting up the python virtual env
NOTE: These should be run ON THE Raspberry PI
mkdir ~/work/venv

/Library/Frameworks/Python.framework/Versions/3.11/bin/python3 -m venv ~/work/venv/python311_raspi

python3 -m venv ~/work/venv/python311_raspi

source ~/work/venv/python311_raspi/bin/activate
Raspberry Pi setup
Connecting to Raspberry Pi with a GUI
Use TigerVNCViewer to connect to Raspberry Pi UI.
ssh shubhomoydas@192.168.1.82

sudo raspi-config
From the menu, use Interface Options to enable VNC
Shutdown raspberry pi
sudo shutdown -h now
Git
The below might fail in case we have default ssh key configured for another bitbucket repository.
git clone git@bitbucket.org:shubhomoy_das/raspi.git
If the above fails, ssh-agent bash -c commands below can be used.
ssh-agent bash -c 'ssh-add ~/.ssh/id_rsa_github_personal; git clone git@github.com:shubhomoydas/ai_raspberrypi.git'

ssh-agent bash -c 'ssh-add ~/.ssh/id_rsa_github_personal; git fetch'

ssh-agent bash -c 'ssh-add ~/.ssh/id_rsa_github_personal; git pull origin'

ssh-agent bash -c 'ssh-add ~/.ssh/id_rsa_github_personal; git push origin'
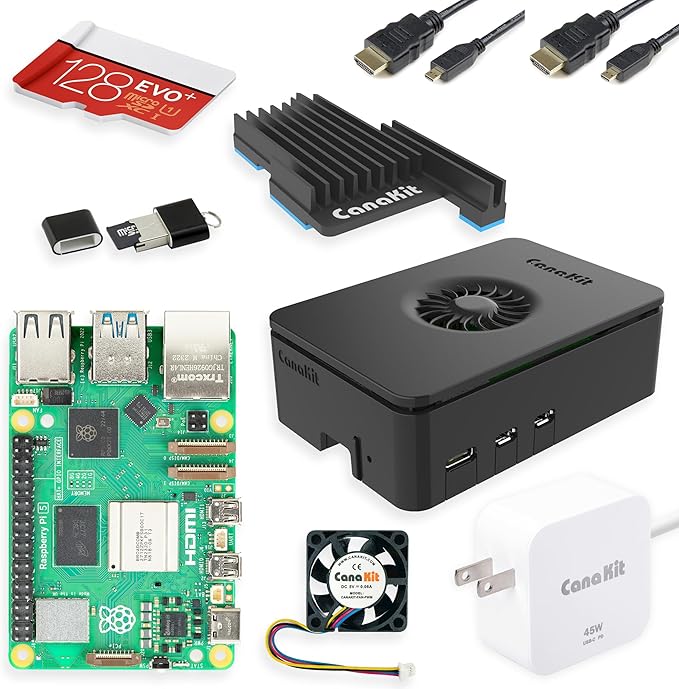
Hardware details
RaspberryPi 5
CanaKit Raspberry Pi 5 Starter Kit PRO - Turbine Black (128GB Edition) (8GB RAM)
Raspberry Pi Build HAT
Lego Motor
LEGO Technic Medium Angular Motor by LEGO Education (45603)
USB speaker for Raspberry Pi
USB Mini Speaker Computer Speaker Powered Stereo Multimedia Speaker for Notebook Laptop PC(Black)

USB microphone for Raspberry Pi

Build HAT Power Adapter
Make sure the voltage regulator is set correctly. I could not find too many affordable options online. The one listed here is one of the closest to my requirement, but there will likely be better alternatives. We will need ~8V for the Build HAT.